How to grow chives
Download PDF


Seed Sowing
Sow your chive seeds from January in a heated propagator or from February on a warm windowsill. Sow a thin layer in pots and place a clear plastic bag over the top. Once they start sprouting, you can remove them from heat.
Transplanting
Ensure your seed bed is free from weeds and incorporate some well-rotted manure. In March, you can directly sow your seeds in clusters around 15-30 cm apart or plant out your young plants when they reach a height of 10 cm.
Plant Care
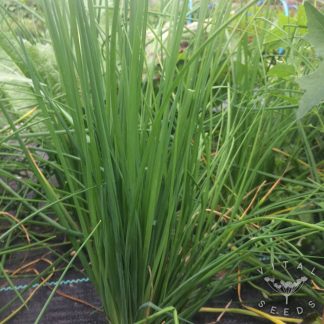
Chives are super easy; they love a free-draining, rich soil. Choose a sunny or partially shady spot for them, and they will thrive for years. You may need to divide larger clumps after a few years, preferably in spring. Water during dry spells and cut back after flowering.
Challenges
Chives face very few problems. You may encounter aphids or leek rust, but it’s not that common.
Harvest
For new plants, leave them to grow until mid-summer. Once established, you can cut chives from early spring and regularly throughout the growing season to encourage fresh new growth. Plants can be cut right back after flowering unless you want seeds.
Culinary Ideas
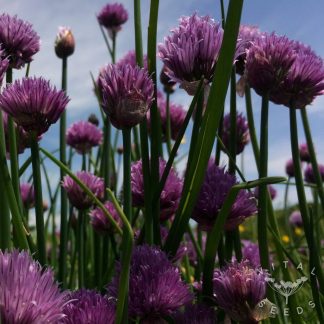
Chives are an extremely versatile culinary ingredient. Enjoy a delicious sour cream and chive topping on a classic baked potato, add them to soups, stir-fries right at the end, use them in salads and dips. The flowers can be eaten and look pretty scattered on top of dishes as a garnish. The seeds can also be used as sprouts or microgreens.
Seed Saving
To save chive seeds, leave the plants to flower and harvest the dried seed heads once they turn brown. You will start to notice the black seeds as they begin to open. Leave the seed heads in a dry, well-ventilated place for at least 10 days. Rub the seeds off the heads and store them in a cool, dry place. Stored this way, seeds can remain viable for up to 2 years.